Views
Harley Davidson WLC Flathead 750, 45" Bobber, modification.
Contents |
Fixing it up from the old look to how i want it..

Wheels, Fenders and seat
The rear wheel were some of a oddball, it turned out to be a Fulda 15" car tire, and worse yet, it turned out that the bearing in the star-hub had been attempted a repair, where they used very fine roller bearings, which had been moving in wrong places, resulting in the wheel beeing able to move in axial, and 90 Degrees on axial, which could be felt when driving... the Drive was needless to say quite live.. so....Now 16" rims and Firestone tires..


TBD Ignition convertion to solid state

Reverting old style black foot levers


Rewireing


Replacing the switch on the dash with a small switch box on the battery case. The surface facing forward on the battery case, i have welded on two bolts, so i can mount the small switch case. that way you lighting on the left side, and Ignition on the left side. The hole in the dash i want to place a Amp meter, on bikes with ignition that depends on the battery, its not onle important to know if the generator is making current, but its important to know that its actually making enough to charge the battery. that you can not see from the dash "GEN" indicator..
When making your own wireing, its a good idea to find a picture of the frame, and plan your wireing from there... another approach is to just pull some wires, but that can cause alot of waste wires cuts..


Twist grip mod, to eliminate handlebar swithes
The twist grip internals alu part were made by my friend Tony Schalburg on CNC.


The last picture shows the insert that goes into the handlebar. When the grip is mounted, you twist it upwards to switche between high and low beam. When you twist it down you activate the horn. That way you dont need the ugly crome switches on the handlebars.
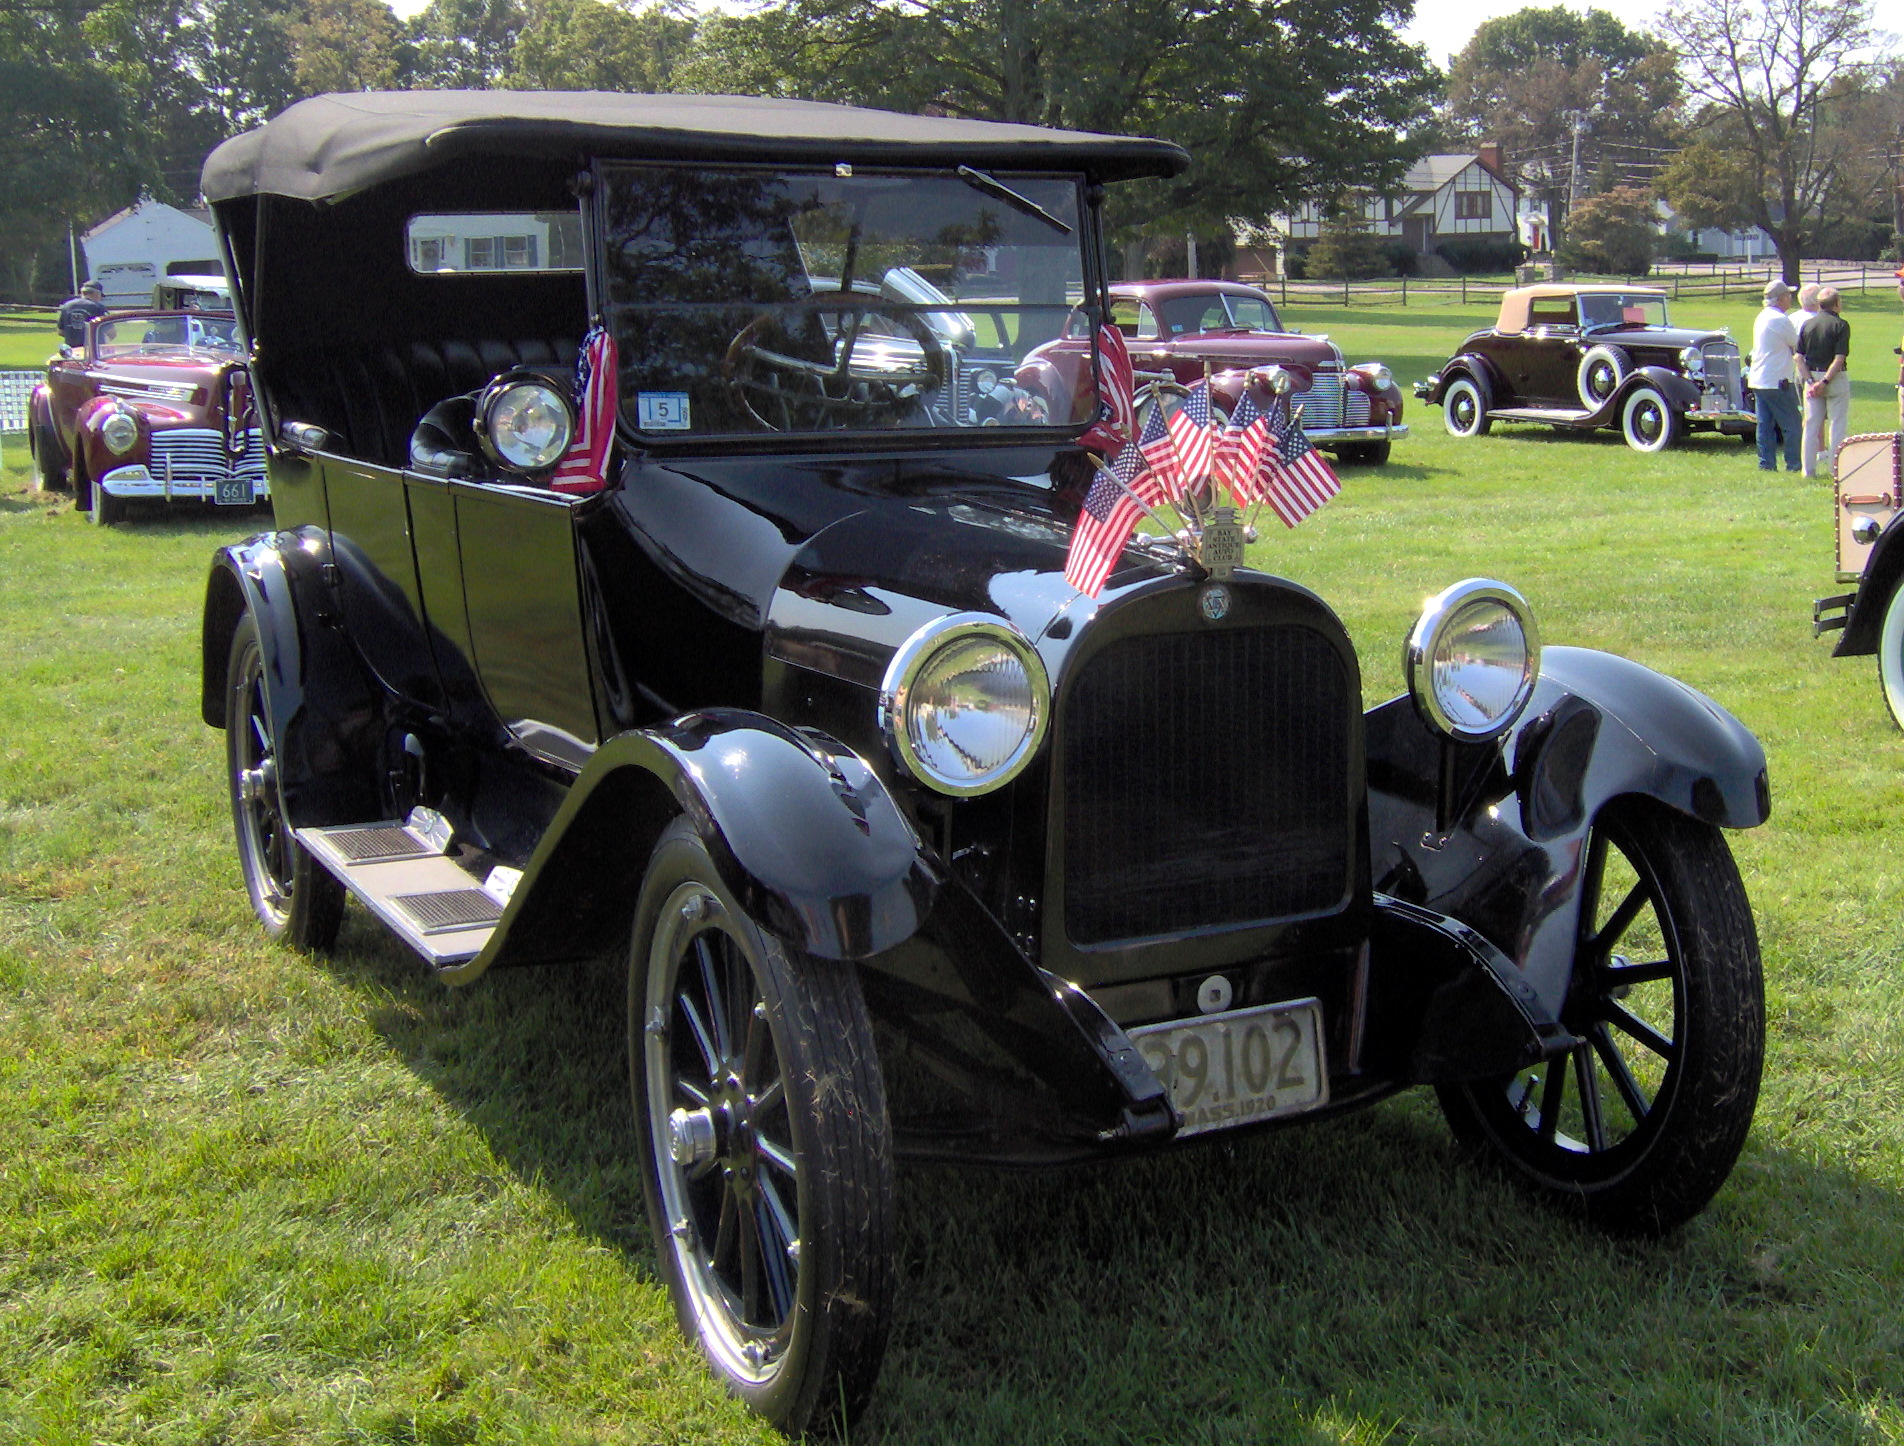
Fitting Dodge 1920 Headlamp
Found a front headlamp from a Dodge car from 1920 (can be seen here: http://upload.wikimedia.org/wikipedia/commons/c/ce/1920_Dodge_Brothers_touring_car.JPG), and the look was perfect, and i love the size, and the hight over the front wheel...
If you happend to find the same headlamp, and wonder how it is taken apart (no, there are absolutely no screws anywhere - The you need to hold the glas rim, push in, while turning counter clockwise, and it will all fall apart.)
To make the headlamp usable, you need to find a donor headlamp that has a socket you want to use. I used a Lucas 700 reflector, and cut out the bulb socket with a dremel - These are easy to find cheap at auto jumbles, as these tend to rust.. but as you dont need the rusty part, its all good. .
Cut out the Lucas socket:


The cut-out of the Dodge socket:


Make room for the new socket and solder it in. Carefull not to use too much heat, as these old headlamps, the reflector is actually made from tin, so you can end up getting flowing tin on the reflector side, which will distort the beam.
The Lucas socket soldered in the Dodge reflector:


Im missing the pilot bulp, which will be fitted the exact same way.
To fit the headlamp on the bike, cut off the lamps long fixture, so its as short as you want it. take a 1/2" tap and run up the stem on the springer fork from below, and you make a brackt to connecto those two, and you are good to go. Simple and very tough.


Brass Speedometer and tank cover plate
So its time to do some customisation.. The Speedometer is dismantled, and carefull measures are taken to be able to replicate the faceplate. a program is written in G-code, to make a new faceplate. It is deliberate that i have removed the trip counters, as those are irelevant to me..
As i have moved the tanks further apart to accomodate for the improved wireing harness, i have also designed a cover plate that goes between the tank halves.. No pinstriping digitally is NOT easy...


